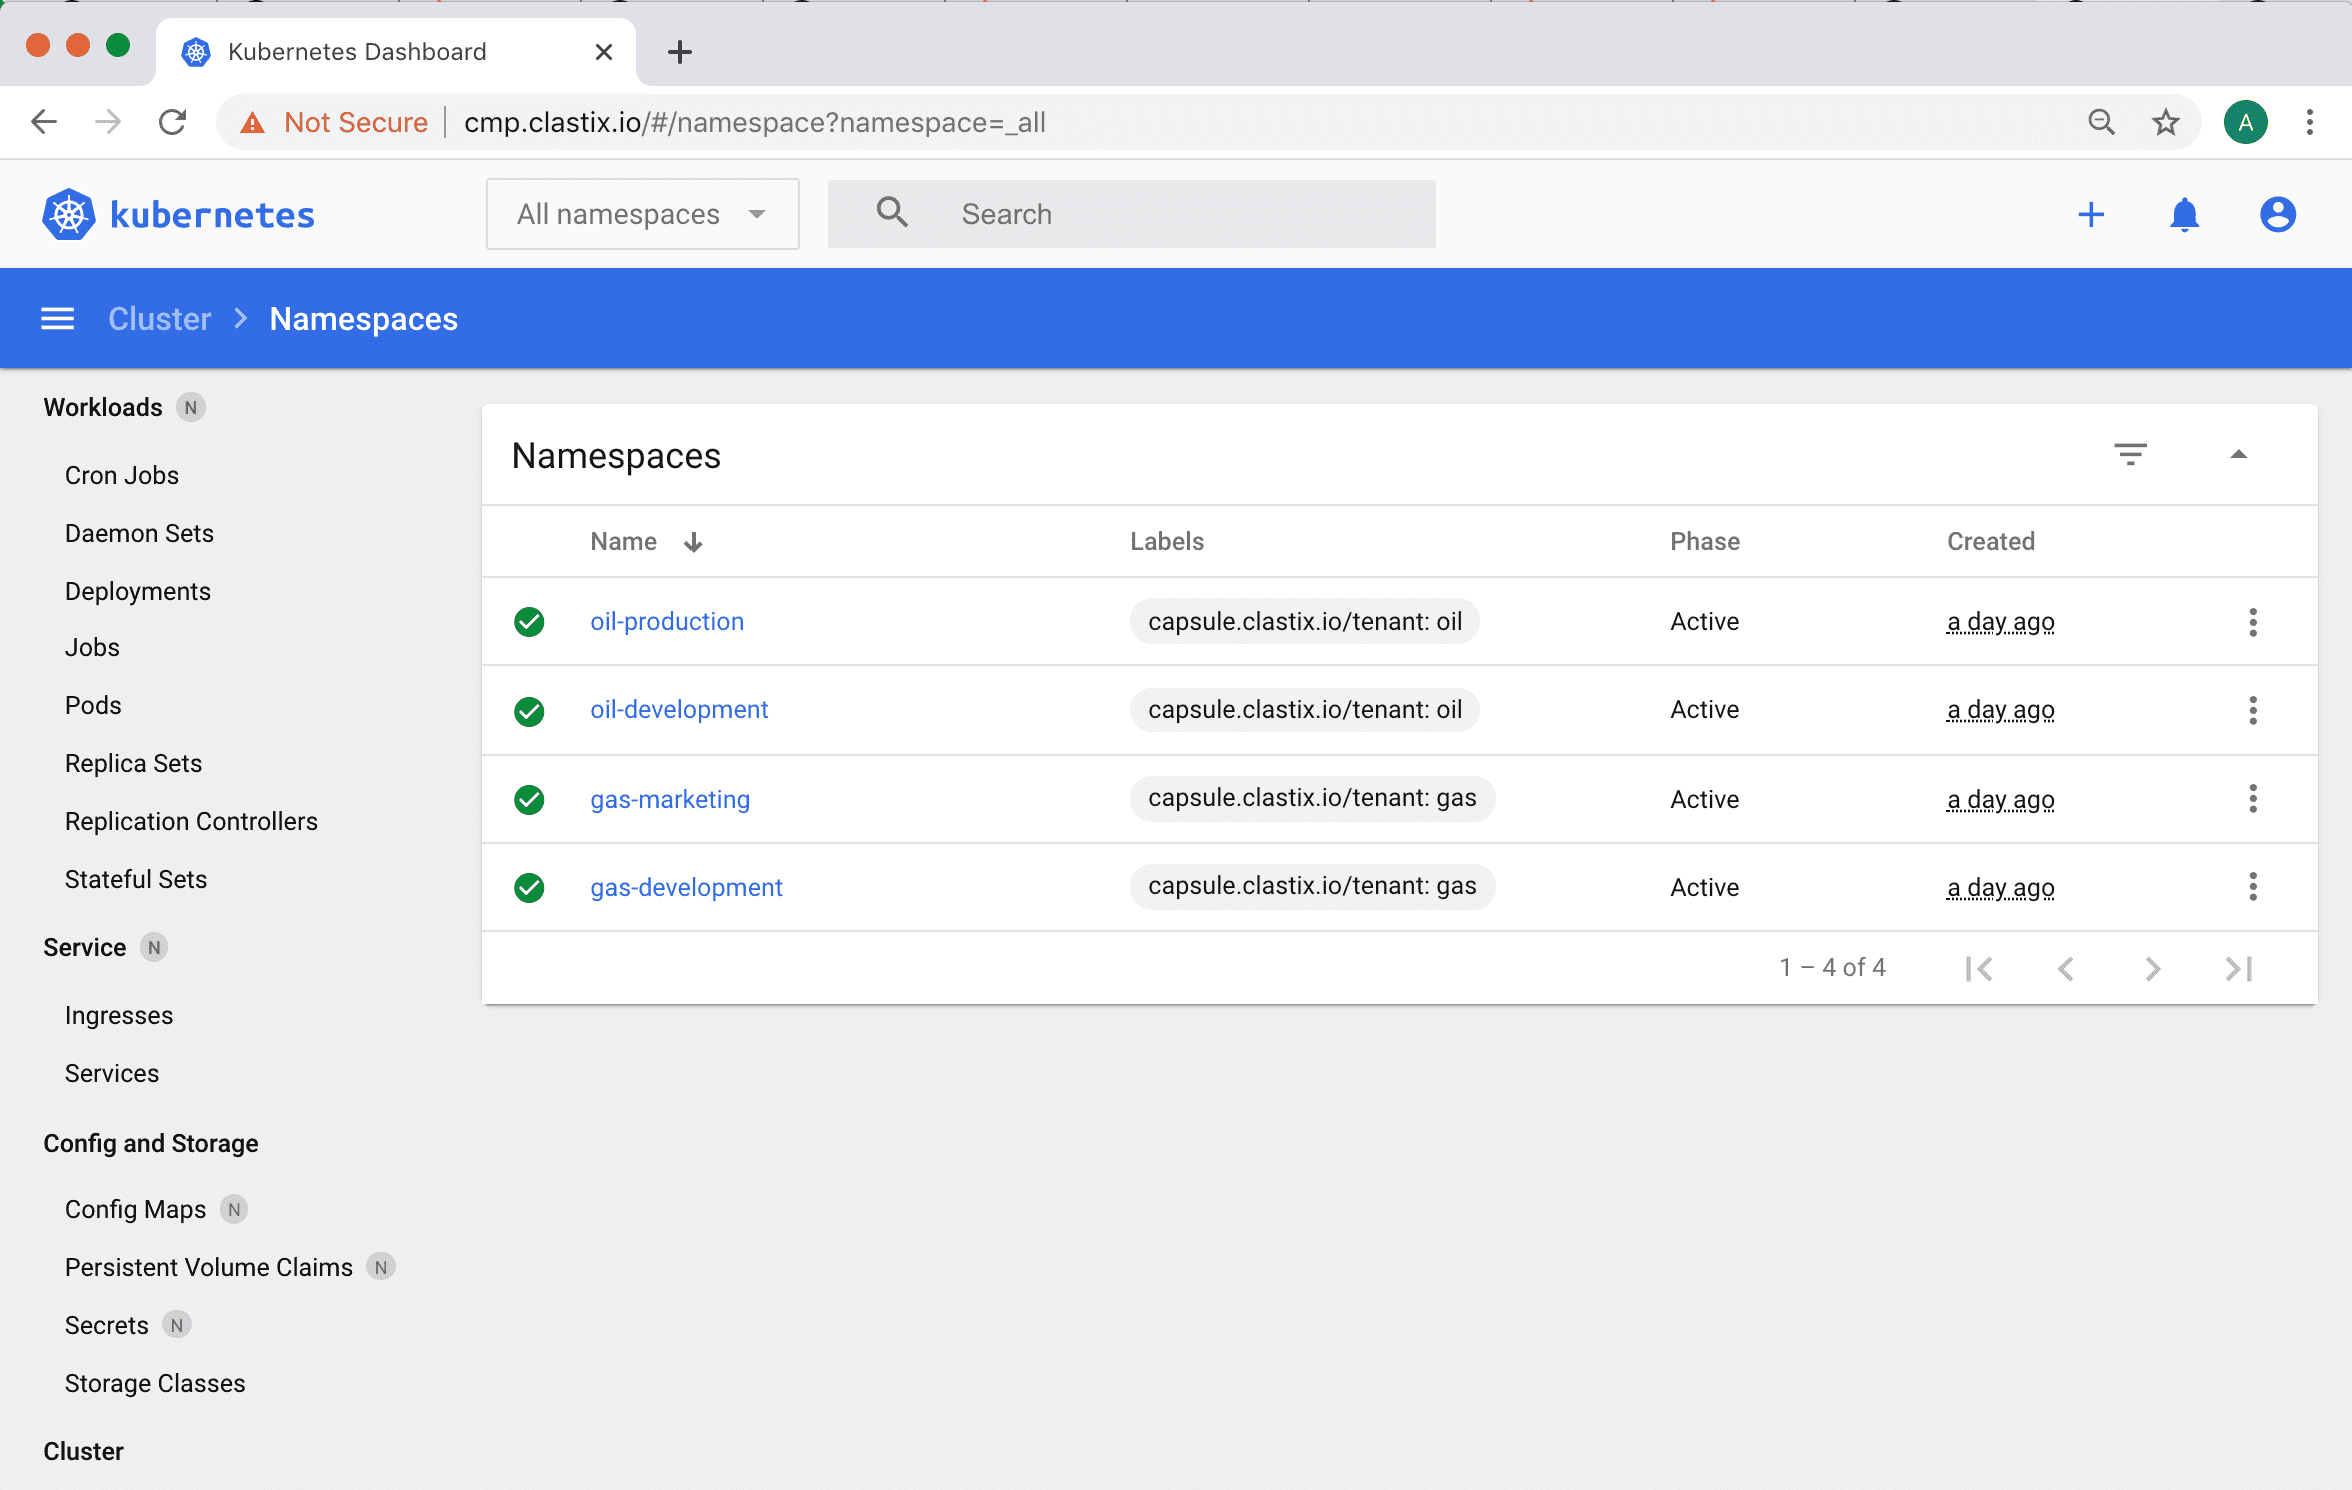
Kubernetes Dashboard
This guide describes how to integrate the Kubernetes Dashboard and Capsule Proxy with OIDC authorization.
In this guide, we will use Keycloak as the Identity Provider.

Configuring oauth2-proxy
To enable the proxy authorization from the Kubernetes dashboard to Keycloak, we need to use an OAuth proxy.
In this article, we will use oauth2-proxy and install it as a pod in the Kubernetes Dashboard namespace.
Alternatively, we can install oauth2-proxy in a different namespace or use it as a sidecar container in the Kubernetes Dashboard deployment.
Prepare the values for oauth2-proxy:
cat > values-oauth2-proxy.yaml <<EOF
config:
  clientID: "${OIDC_CLIENT_ID}"
  clientSecret: ${OIDC_CLIENT_SECRET}

extraArgs:
  provider: "keycloak-oidc"
  redirect-url: "https://${DASHBOARD_URL}/oauth2/callback"
  oidc-issuer-url: "https://${KEYCLOAK_URL}/auth/realms/${OIDC_CLIENT_ID}"
  pass-access-token: true
  set-authorization-header: true
  pass-user-headers: true

ingress:
  enabled: true
  path: "/oauth2"
  hosts:
    - ${DASHBOARD_URL}
  tls:
    - hosts:
      - ${DASHBOARD_URL}
EOF
Values used for the config:
- OIDC_CLIENT_ID: the keycloak client ID (name) which user in Kubernetes API Server for authorization
- OIDC_CLIENT_SECRET: secret for the client (
OIDC_CLIENT_ID). You can see it from the Keycloak UI -> Clients ->OIDC_CLIENT_ID-> Credentials- DASHBOARD_URL: the Kubernetes Dashboard URL
- KEYCLOAK_URL: the Keycloak URL
More information about the keycloak-oidc provider can be found on the oauth2-proxy documentation.
We're ready to install the oauth2-proxy:
helm repo add oauth2-proxy https://oauth2-proxy.github.io/manifests
helm install oauth2-proxy oauth2-proxy/oauth2-proxy -n ${KUBERNETES_DASHBOARD_NAMESPACE} -f values-oauth2-proxy.yaml
Configuring Keycloak
The Kubernetes cluster must be configured with a valid OIDC provider: for our guide, we're giving for granted that Keycloak is used, if you need more info please follow the OIDC Authentication section.
In a such scenario, you should have in the kube-apiserver.yaml manifest the following content:
spec:
  containers:
  - command:
    - kube-apiserver
    ...
    - --oidc-issuer-url=https://${OIDC_ISSUER}
    - --oidc-ca-file=/etc/kubernetes/oidc/ca.crt
    - --oidc-client-id=${OIDC_CLIENT_ID}
    - --oidc-username-claim=preferred_username
    - --oidc-groups-claim=groups
    - --oidc-username-prefix=-
Where ${OIDC_CLIENT_ID} refers to the client ID that all tokens must be issued.
For this client we need:
1. Check Valid Redirect URIs: in the oauth2-proxy configuration we set redirect-url: "https://${DASHBOARD_URL}/oauth2/callback", it needs to add this path to the Valid Redirect URIs
2. Create a mapper with Mapper Type 'Group Membership' and Token Claim Name 'groups'.
3. Create a mapper with Mapper Type 'Audience' and Included Client Audience and Included Custom Audience set to your client name(OIDC_CLIENT_ID).
Configuring Kubernetes Dashboard
If your Capsule Proxy uses HTTPS and the CA certificate is not the Kubernetes CA, you need to add a secret with the CA for the Capsule Proxy URL.
cat > ca.crt<< EOF
-----BEGIN CERTIFICATE-----
...
...
...
-----END CERTIFICATE-----
EOF

kubectl create secret generic certificate --from-file=ca.crt=ca.crt -n ${KUBERNETES_DASHBOARD_NAMESPACE}
Prepare the values for the Kubernetes Dashboard:
cat > values-kubernetes-dashboard.yaml <<EOF
extraVolumes:
  - name: token-ca
    projected:
      sources:
        - serviceAccountToken:
            expirationSeconds: 86400
            path: token
        - secret:
            name: certificate
            items:
              - key: ca.crt
                path: ca.crt
extraVolumeMounts:
  - mountPath: /var/run/secrets/kubernetes.io/serviceaccount
    name: token-ca

ingress:
  enabled: true
  annotations:
    nginx.ingress.kubernetes.io/auth-signin: https://${DASHBOARD_URL}/oauth2/start?rd=$escaped_request_uri
    nginx.ingress.kubernetes.io/auth-url: https://${DASHBOARD_URL}/oauth2/auth
    nginx.ingress.kubernetes.io/auth-response-headers: "authorization"
  hosts:
    - ${DASHBOARD_URL}
  tls:
    - hosts:
      - ${DASHBOARD_URL}

extraEnv:
  - name: KUBERNETES_SERVICE_HOST
    value: '${CAPSULE_PROXY_URL}'
  - name: KUBERNETES_SERVICE_PORT
    value: '${CAPSULE_PROXY_PORT}'
EOF
To add the Certificate Authority for the Capsule Proxy URL, we use the volume token-ca to mount the ca.crt file.
Additionally, we set the environment variables KUBERNETES_SERVICE_HOST and KUBERNETES_SERVICE_PORT to route requests to the Capsule Proxy.
Now you can install the Kubernetes Dashboard:
helm repo add kubernetes-dashboard https://kubernetes.github.io/dashboard/
helm install kubernetes-dashboard kubernetes-dashboard/kubernetes-dashboard -n ${KUBERNETES_DASHBOARD_NAMESPACE} -f values-kubernetes-dashboard.yaml